
Do you have a ton of container plants or plants in the ground and you're sick and tired of fertilizing by hand? This blog post is for you. It's going to be a game changer. I have an extremely large collection of rare fruiting plants, and I used to walk around with a two-gallon watering can, watering my plants by hand. It would take hours to do this, and I'm not kidding, hours of my life even with multiple cans.
The Search for a Better Method
So I started researching alternative methods of fertilizing, and I came across these fertilizer injectors. These literally hook up to your water source and have a concentrated form of liquid fertilizer. You can just walk around fertilizing all of your plants without worrying about measuring out your ratios of fertilizer to water with your watering can anymore.
"One of the biggest lessons you can learn in life is that your time is the most important thing that you have. So in anything that you're doing, even your hobbies, if you can save time to do things that you really like from all the monotonous work, then that's exactly what you should do."
And this fertilizer injector is going to do that for you.
Meet Newtry Fertilizer Injector
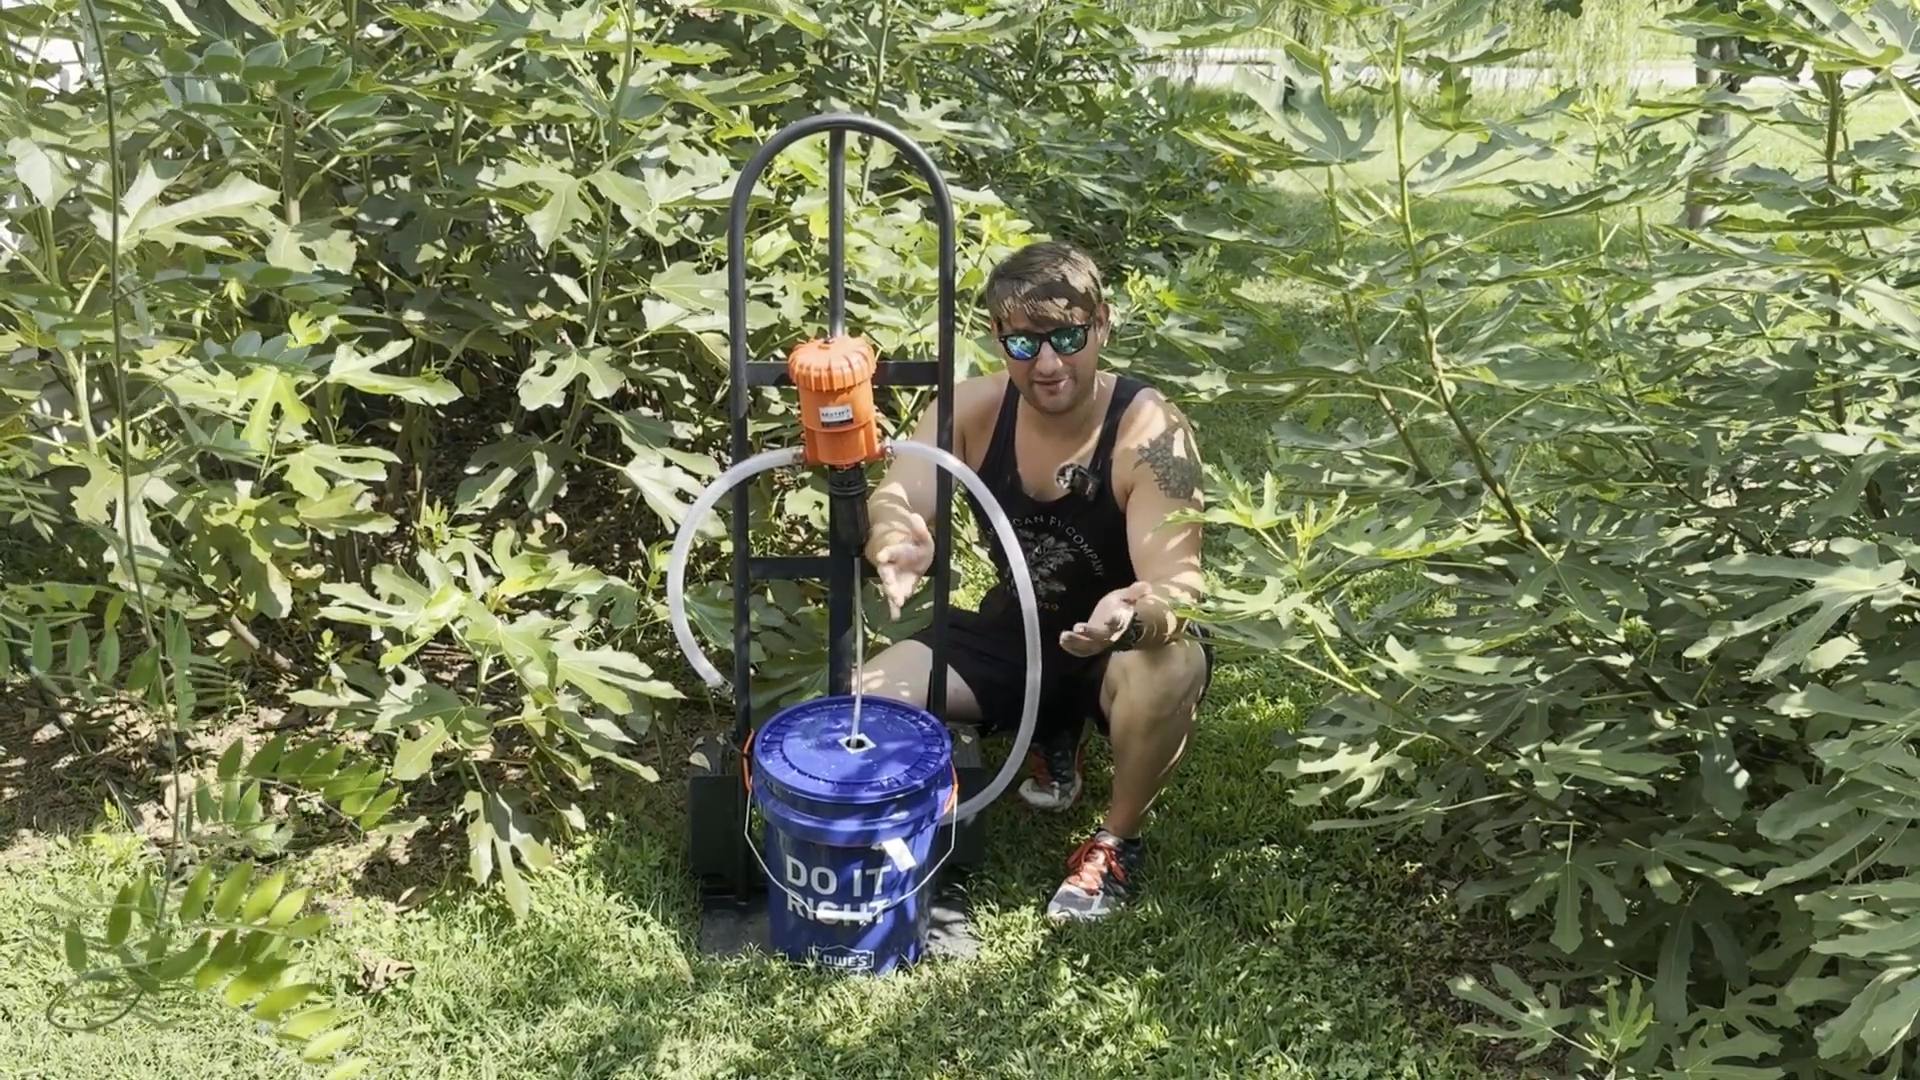
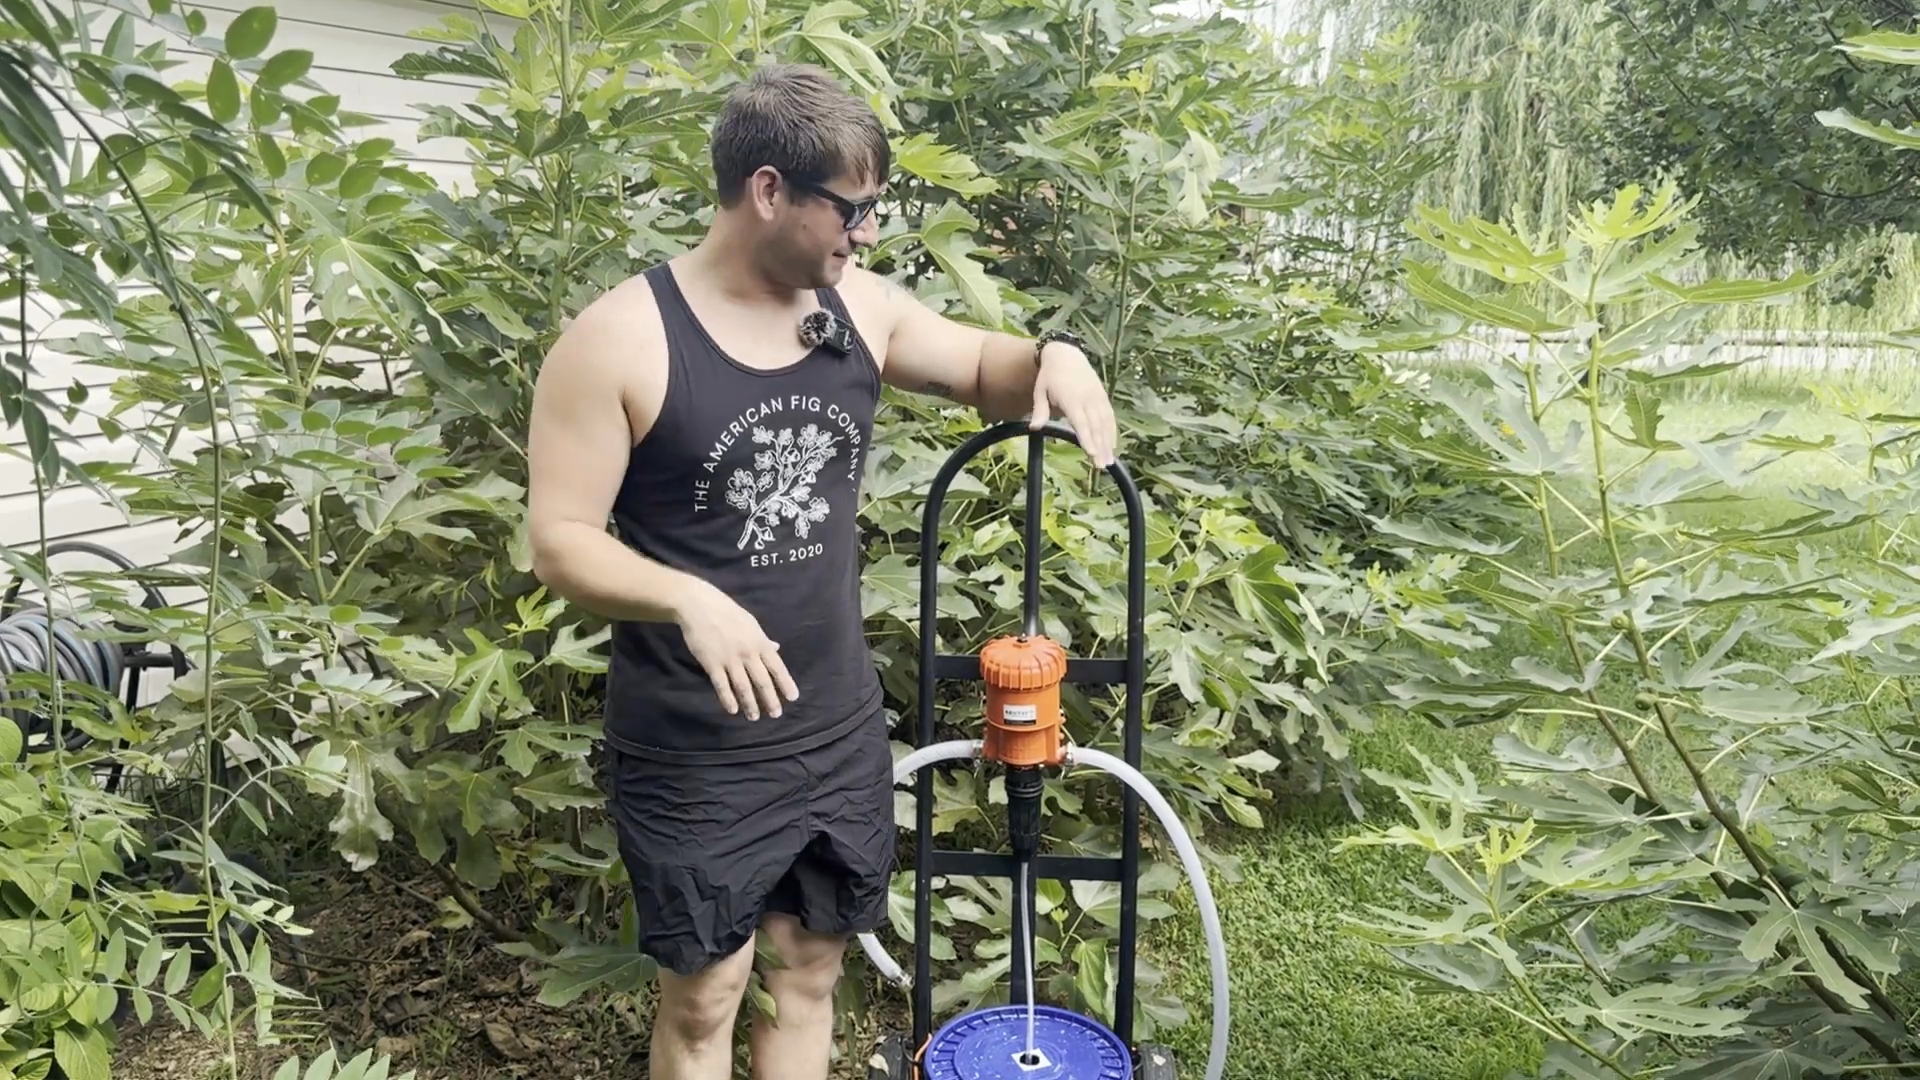
After much research, I settled on a brand called Newtry. There are much more expensive fertilizer injectors out there, possibly made from higher quality materials, but if you set this up properly, it will do the job just fine.

However, one thing to note about this fertilizer injector is that the intake and outtake threads are plastic. When attaching your hose to them, it doesn't have the best grip and the water pressure can actually blow the hoses off, which is a problem I continuously faced.
The Fix for Plastic Threads
To solve this issue, I went to my local big box store and bought some tubing that fits right over those threads. I also got some little screw on clamps to tighten and hold those hoses. Now, I don't have to worry about that issue anymore.

With brass threads at the bottom, the hoses can just go right on, and it's much stronger. I don't have to worry about the pressure building up and blowing these hoses off when I flip the switch on my watering nozzle.
How Does the Fertilizer Injector Work?
The Two-Hose System
The way this system works is with a two-hose setup:
Intake Hose: Draws water directly from your water source. There's even an arrow to show the direction, making it idiot-proof for people like me.
Outtake Hose: Directs water from the injector to your hose nozzle for watering your plants while providing the correct amount fertilizer per gallon exiting the hose.
It also includes a small hose that goes from the bottom of the fertilizer injector into your concentrated liquid fertilizer.
Setting the Right Percentage
This device runs on percentages. For example, if you want to mix a half teaspoon of fertilizer per gallon of water, you just set the percentage to meet your specific needs. Honestly, that's the most difficult part of this entire process. Once you get past that, it's really straightforward. We made a calculator that lets you easily know the correct amount of fertilizer to add to the bucket. Click here to use it.
I went and got a five-gallon bucket from a local store and mixed my fertilizer concentrate. The great thing is you can use any water-soluble fertilizer you prefer, even something like Miracle-Gro.
The Math Behind Mixing Your Fertilizer
To help clarify the math, let’s set this up on a 1% setting. Essentially, the injector takes a percentage of what's in your bucket per gallon of water that comes through it. I also created a FREE calculator you can use, just click here!
Example Using Miracle-Gro
Miracle-Gro Instructions:
It advises half a teaspoon per gallon of water every two weeks.
Calculations for a Five-Gallon Bucket:
-
If using the bucket just as a watering can:
5 gallons × 0.5 teaspoons/gallon = 2.5 teaspoons.
-
Since the injector pulls at a 1% solution:
Multiply the amount by 100 (because it pulls 1 out of 100 parts).
2.5 teaspoons × 100 = 250 teaspoons, which is equivalent to about 5 cups.

If using a one-gallon watering can, the calculation would simply be:
0.5 teaspoons × 100 = 50 teaspoons for one gallon.
Making Life Easier
Get a five-gallon bucket, mix the concentrate correctly, and poke a hole in the lid to fit the injector hose. This setup ensures that every gallon of water has the perfectly measured solution. Then you can just go plant to plant and not worry about filling up and mixing every single plant.
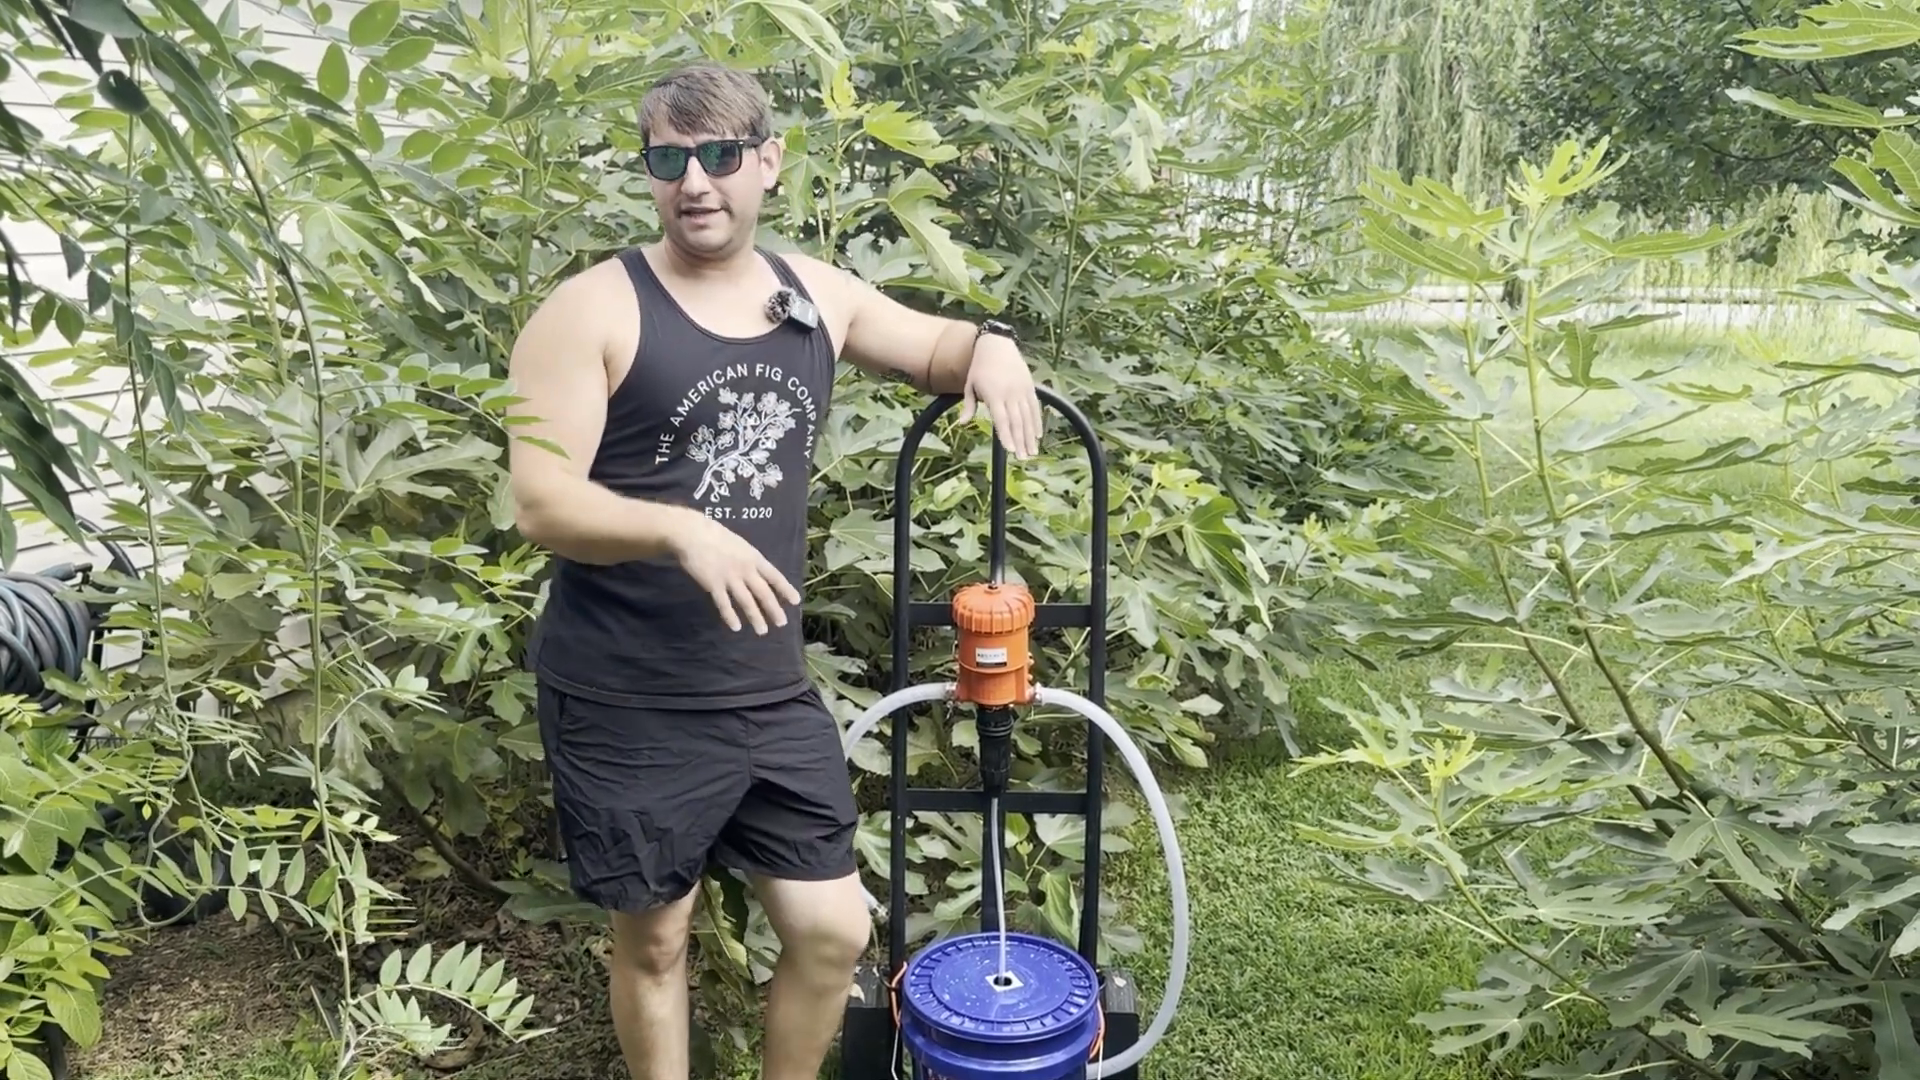
I've attached everything to a dolly from Harbor Freight for about $79, secured with bungee cords, making it mobile. Now, I can easily fertilize anywhere—inside or outside.
Tips for Effective Fertilizing
Diluting the Fertilizer
I typically like to use a diluted form of fertilizer. If the instructions call for a half teaspoon, I dilute it to a quarter teaspoon. I do this because I grow a lot of plants in smaller containers, and sometimes the recommended dosage can burn the roots and leaves. Luckily the calculator we made makes it easy to know how much to put in the bucket no matter what ratio you are looking to achieve.
Hot Weather Warning: Fertilizing in hot weather can damage your plants, so diluting the fertilizer is a great idea.
Additional Flexibility
If all your plants are in one area, you might not need the dolly. Just hook up the system to your house and you could dilute the fertilizer, allowing you to fertilize every time you water—without any manual mixing.
Conclusion
This fertilizer injector has been a game changer for me. It saves me hours of work and makes the process of fertilizing my plants practically effortless. If you can get past the initial math and setup, you'll find it incredibly user-friendly.
Send this blog to any of your friends who might be interested. It's going to save them a lot of time. If you haven't already, check out the American Fig Company, where we sell a variety of cool fruiting plants. See you in the next post!
3 comments
Which model Newtry fertilizer injector would you recommend to fertilize your potted plants?
Can you recommend a few varieties of container grown fig plants which will flourish & fruit in the Tropics? Also would you sell their cuttings? Where can I purchase this fertilizer device for potted plants?
Can you recommend a few varieties of container grown fig plants which will flourish & fruit in the Tropics? Also would you sell their cuttings? Where can I purchase this fertilizer device for potted plants?